

Growing Girls and Roses...while trying to prune life's thorns and keep all the roses. Somewhere in the midst of all that...to create beauty in my life through Art: Tatting, Crochet, Crafting, Sewing, Baking, and Gardening.
Monday, December 31, 2012
Lace mat...round four in progress...
Halfway through round 4, plus a little...finishing it for my own pleasure. I really didn't think I would be able to complete it in time for Jon's deadline, but it was fun to try. I will work on it again tomorrow...love how it is coming out, the pattern is just gorgeous!

Sunday, December 30, 2012
Lace Mat update...
Finished round 3...off to bed now, we will have to see how far I am able to progress befor Jon calls time tomorrow. It really doesn't matter, but it will be fun to see how far I can get!


Color Block V-Stitch Prayer Shawl
I have been working on a number of projects over the past three months and hope to get many of them shared with you all. This happens to be one that I finished tonight and wanted to document here so that I have the pattern for future use. I coaxed my lovely daughter into modeling it for me so I could show you all...


It is a bit on the large side on her, but she is 13 and the fit is much less big on an adult woman. It is amply sized as I wanted it to fit a variety of women as this was created for a prayer shawl ministry, so if you are petit and making this for yourself I would downsize the number of rows done.
I absolutely love how this shawl came out and definitely want to make one for myself. The yarn is from a stash the ladies at my church keep for the prayer shawl ministry, so no matter how much I love this, it will be going to that ministry later this week. This shawl just happened, I started this while at a Bible study and just sort of winged it...but it certainly became something worth repeating and so I will share the pattern here.


Enough of that, I promised the pattern:
Yarn used was a worsted weight. I used 2 - 8 oz skeins of 2 different colors. Here is what I had remaining after completing the shawl:

Begin by chaining 99 stitches + another 4 (for the 1st double crochet)
*Turn and double crochet in the 4th chain from hook (equivalent of one V stitch)
**Skip 2 chains & double crochet, chain one, double crochet in next chain (1st V stitch)
repeat from ** 32 more times until end of chain (34 V stitches across total)
Chain 4, turn and repeat from * 7 more times
Change colors, 56 rows of V stitch in 2nd color (or to preferred fit)
Change colors, 8 rows of V stitch in 1st color
Seam together "sleeve" to edge of color change on both sides by your preferred method (I use slip stitch to seam my edges together) This is what that looks like once turned inside out:

Decorative edging:
Starting at seam, add decorative edging to sleeve by attaching yarn via slip stitch next to seam, then skip 2, *double crochet in next, chain 2 & slip stitch behind top loop of double crochet just completed, **double crochet in same hole, chain 2 & slip stitch behind top loop of double crochet just comleted, repeat from ** 2 more times for a total of 4 in same hole.
Skip 2, single crochet in next two, skip 2 & repeat from * until have completed edging (15 shells total) tie off & weave in ends.
If you have any questions, please comment and I will try to explain. This is the first crochet pattern I have really posted so there may be things I need to explain better or differently. Here are a couple of additional photos, just for the fun of it...


It is a bit on the large side on her, but she is 13 and the fit is much less big on an adult woman. It is amply sized as I wanted it to fit a variety of women as this was created for a prayer shawl ministry, so if you are petit and making this for yourself I would downsize the number of rows done.
I absolutely love how this shawl came out and definitely want to make one for myself. The yarn is from a stash the ladies at my church keep for the prayer shawl ministry, so no matter how much I love this, it will be going to that ministry later this week. This shawl just happened, I started this while at a Bible study and just sort of winged it...but it certainly became something worth repeating and so I will share the pattern here.

The V stitch is open and lacy and fast to work...I love the effect...

Really, I just love the whole project from beginning to end! It was fun to work, and I love the modern color blocking that I chose to utilize in this pattern!
Enough of that, I promised the pattern:
Yarn used was a worsted weight. I used 2 - 8 oz skeins of 2 different colors. Here is what I had remaining after completing the shawl:

Begin by chaining 99 stitches + another 4 (for the 1st double crochet)
*Turn and double crochet in the 4th chain from hook (equivalent of one V stitch)
**Skip 2 chains & double crochet, chain one, double crochet in next chain (1st V stitch)
repeat from ** 32 more times until end of chain (34 V stitches across total)
Chain 4, turn and repeat from * 7 more times
Change colors, 56 rows of V stitch in 2nd color (or to preferred fit)
Change colors, 8 rows of V stitch in 1st color
Seam together "sleeve" to edge of color change on both sides by your preferred method (I use slip stitch to seam my edges together) This is what that looks like once turned inside out:

Decorative edging:
Starting at seam, add decorative edging to sleeve by attaching yarn via slip stitch next to seam, then skip 2, *double crochet in next, chain 2 & slip stitch behind top loop of double crochet just completed, **double crochet in same hole, chain 2 & slip stitch behind top loop of double crochet just comleted, repeat from ** 2 more times for a total of 4 in same hole.
Skip 2, single crochet in next two, skip 2 & repeat from * until have completed edging (15 shells total) tie off & weave in ends.
If you have any questions, please comment and I will try to explain. This is the first crochet pattern I have really posted so there may be things I need to explain better or differently. Here are a couple of additional photos, just for the fun of it...


Now, I am off to TRY and finish my tat-along lace mat...the end is at hand and though I was the among the first to begin I fear I will be the last to finish!!! Here is where I left off...I am afraid I am easily distracted and that is where it rests still!
Friday, September 28, 2012
Apples, Apples, and more Apples!
We went apple picking at the relatively nearby Lusk Orchard in Fowler, Colorado and brought home 75+ pounds of absolutely amazing apple's...

Beautiful, Gorgeous, Scrumptious Apples...Macintosh, Jonathan, and the old variety of Red Delicious...
and so I have been cutting them up to freeze for later, loading the dehydrator, and making this....

...and this,

The jelly is made from the cores and peels...I love making something wonderful and delicious from something that I would have thrown away previously. I found the recipe here. It is an absolutely beautiful soft pink from the Macintosh apples I used today and the flavor is amazing. I think I will make another batch tomorrow in pretty little gift jars for small Christmas gifts, but will increase the final boil to 2 minutes as the set is a little softer than I prefer.
Fall harvest opportunities have a way of creating unplanned interuptions......back to your regularly scheduled tatting and other crafting soon I think, I have just two more buckets of apples to go!
Wednesday, September 26, 2012
Autumn Splendour...
A few photos from this weekend, just for your enjoyment...


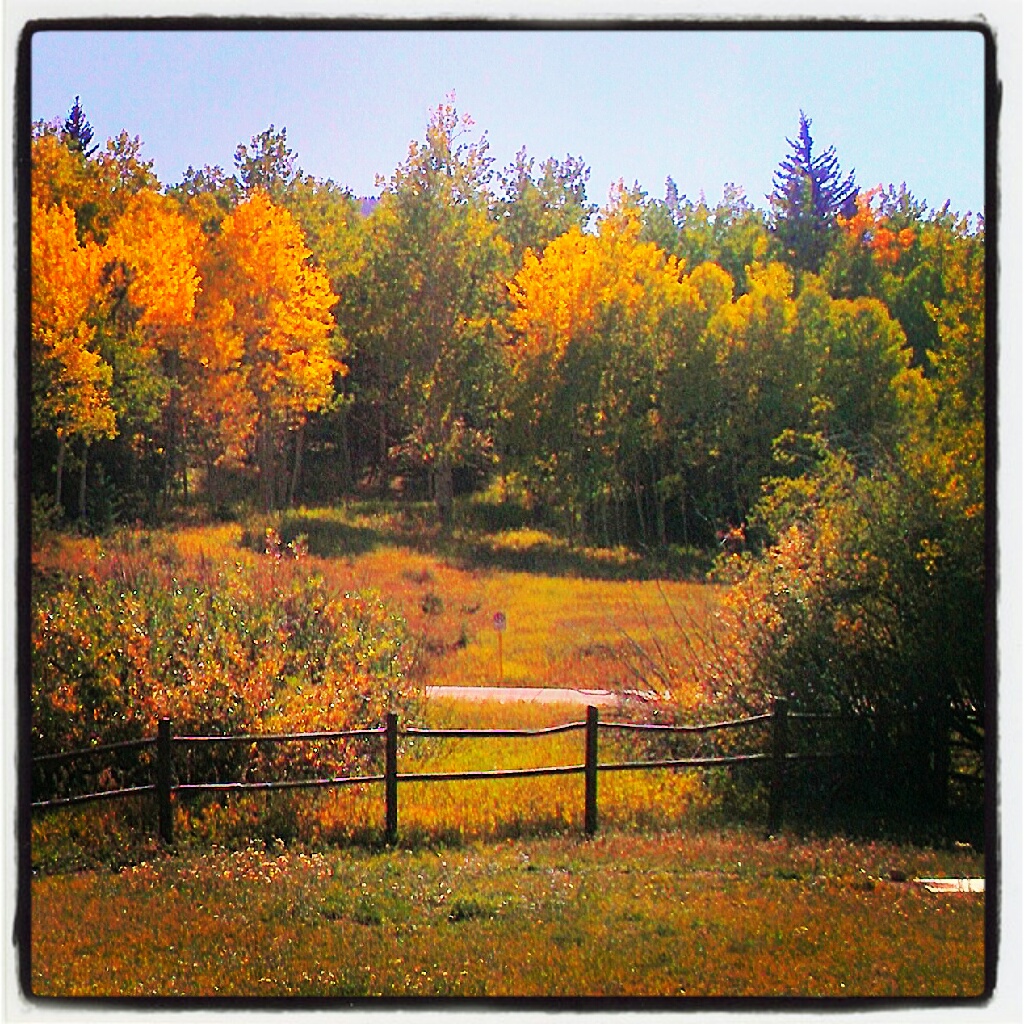
The color was gorgeous, just at the beginning of the good color, it should be at it's peak this next weekend. The girlscouts, my co-leaders, and I stayed in a forest service cabin across the road from Lake Isabel...a beautiful place to spend two days! Fun was had by all...

This is a view of Lake Isabel I took the last morning we were there.
I returned home Sunday, spent the afternoon unloading and putting away the truckful of gear that I took with me. Monday was simply a day of rest, it seems that no matter how relaxing of a time we have as a troop I am always exhausted when we return. I think it has something to do with a decided lack of sleep!
Yesterday I spent working at learning to diagram patterns and then on the pattern for the earrings I created last week. Hopefully I will have that ready to share with all of you later today.
Sunday, September 23, 2012
Pretty Dishtowels...
These, also tatted by my Grandmother Stella, I find to be both lovely and practical...not so elegantly done that I am completely afraid to use them...

We found a stack of these in the pretty heirloom dresser I showed a while back...
I chose this one to bring home with me...


This simple ring only edging Grandma could tat just as fast as lightning it seemed...she made yards of this simple trim to add to things...everything from nightgowns to dishtowels was decorated in this fashion...

...it's a special touch, but not too much...so one isn't afraid to use it. I love these, definitely going to have to make a few more in a similar fashion!
Saturday, September 22, 2012
Owl and a Stripey bit...but a pussy cat would love them!
Here are two light summer blankets that I made for my girls, perfect for traveling about this summer. I made these while up in Montana this summer, one for each girl, but never managed to blog about them.
These are something special, but something usable...these are easily washable, fun to use, warm but not too warm...a kitten would love to cuddle on these, and my little kitten certainly enjoys hers!


These are something special, but something usable...these are easily washable, fun to use, warm but not too warm...a kitten would love to cuddle on these, and my little kitten certainly enjoys hers!


The edging is the same on both, just utilizing two colors on the owl fabric and a solid color on the striped fabric...


These are fun to work up and I enjoy making them...I have another started, this one in a cream and red Christmas poinsettia fleece...I think it will make a pretty throw for on the couch during the winter season.
Subscribe to:
Posts (Atom)